You're reading for free via Matheshyogeswaran's Friend Link. Become a member to access the best of Medium.
Member-only story
Integrate Google AdMob with a React Native CLI App: Interstitial Ads with Example
Read this article without a paywall using this friend link!
Hello everyone, today we are going to look at how we can integrate Google AdMob with a React Native CLI app. In this blog, we will create a sample task to showcase an Interstitial advertisement.

First, you need to have a Google AdMob Account. You can create one by following this link: Google AdMob.
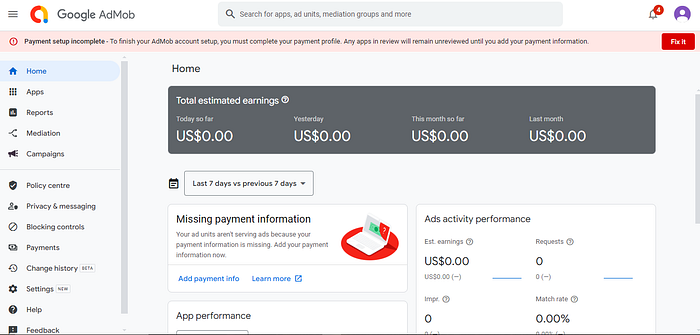
In the AdMob dashboard, you will see a screen like the following
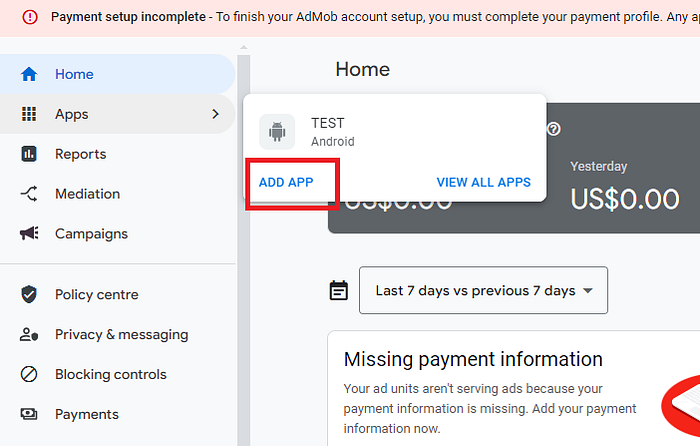
1 . Create a New App
Click on the option to create a new app.
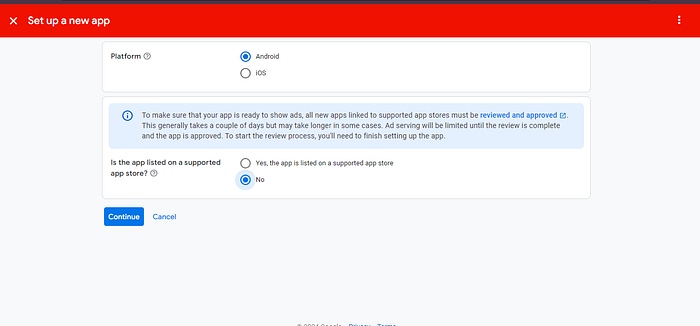
2 . Select Platform
Choose the platform you are using. If your app is listed in the Play Store, select that option. For this tutorial, we will assume our app is not in the Play Store, so select “No”.
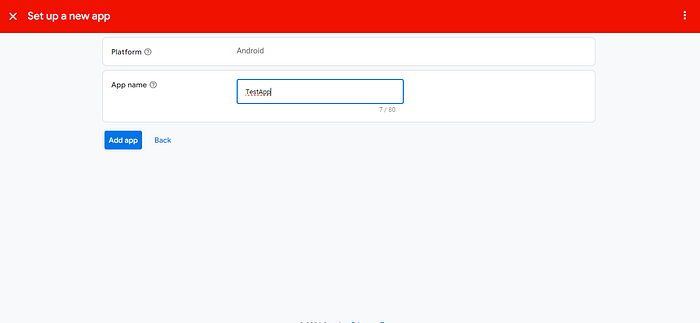
3 . Name Your App
Enter a name for your app and complete the creation process.
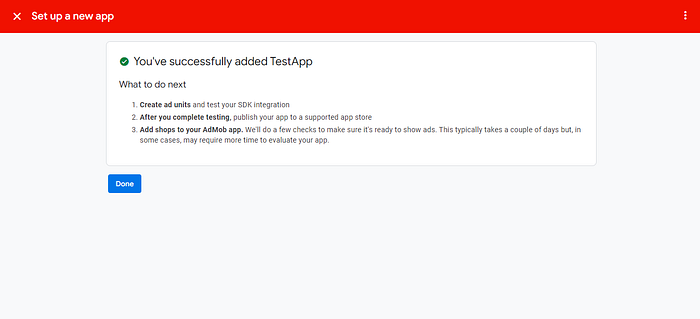
After successful creation, you will see a screen like the following
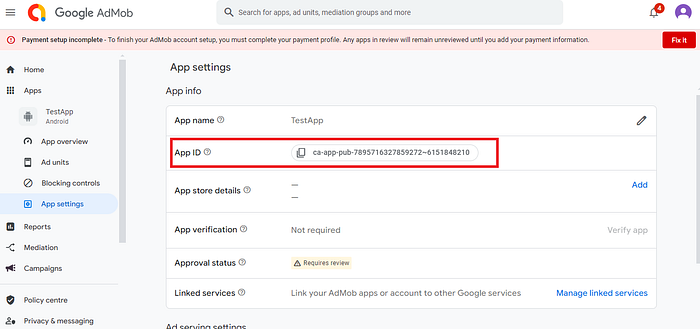
4 . Copy App ID
From the app settings, copy the App ID.
Now that the Google AdMob setup is done, we will look at how to integrate it into a React Native CLI app.
Setting Up React Native CLI
Assuming you already have a basic React Native CLI setup, install the following npm package
# Install the admob module
npm install react-native-google-mobile-ads
Configuring App
In your app.json file, add the following configuration:
// <project-root>/app.json
{
  "react-native-google-mobile-ads": {
    "android_app_id": "ca-app-pub-xxxxxxxx~xxxxxxxx" // use the App ID you copied in the previous step
  }
}
Rebuild the project with
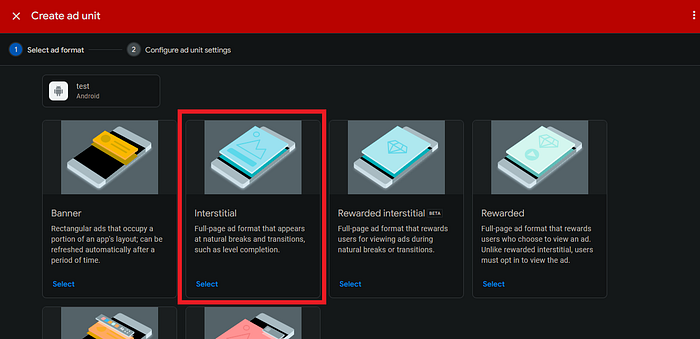
npx react-native run-androidAt this point, you’ll need to create an ad unit.

Next, select the interstitial ad.
Assign an appropriate name to it.
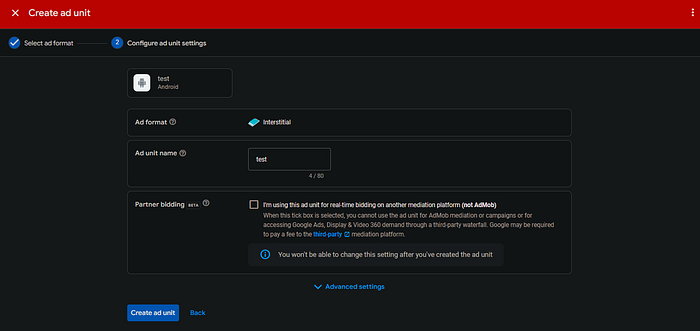
Copy the ad unit ID.
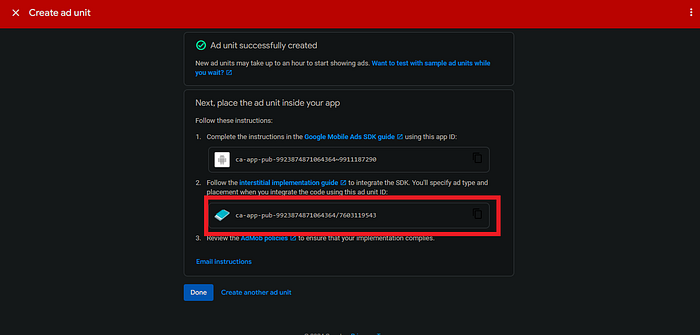
In your App.tsx file, add the following code, replacing it with the ad unit interstitial ID.
import React, { useEffect, useState } from 'react';
import { Button, SafeAreaView, Text, View, StyleSheet, TouchableOpacity } from 'react-native';
import { InterstitialAd, AdEventType, TestIds } from 'react-native-google-mobile-ads';

const adUnitId = __DEV__ ? TestIds.INTERSTITIAL : 'ca-app-pub-9923874871064364/7603119543';
//Use the ad Id

const interstitial = InterstitialAd.createForAdRequest(adUnitId, {
  keywords: ['fashion', 'clothing'],
});

function App() {
  const [loaded, setLoaded] = useState(false);

  useEffect(() => {
    const unsubscribe = interstitial.addAdEventListener(AdEventType.LOADED, () => {
      setLoaded(true);
    });

    // Start loading the interstitial straight away
    interstitial.load();

    // Unsubscribe from events on unmount
    return unsubscribe;
  }, []);

  // No advert ready to show yet
  if (!loaded) {
    return (
      <SafeAreaView style={styles.loadingContainer}>
        <Text style={styles.loadingText}>Loading Ad...</Text>
      </SafeAreaView>
    );
  }

  return (
    <SafeAreaView style={styles.container}>
      <View style={styles.header}>
        <Text style={styles.title}>Interstitial Ad Example</Text>
      </View>
      <TouchableOpacity style={styles.adButton} onPress={() => interstitial.show()}>
        <Text style={styles.adButtonText}>Show Interstitial Ad</Text>
      </TouchableOpacity>
    </SafeAreaView>
  );
}

const styles = StyleSheet.create({
  container: {
    flex: 1,
    backgroundColor: '#f2f2f2',
    justifyContent: 'center',
    alignItems: 'center',
    padding: 20,
  },
  header: {
    marginBottom: 50,
  },
  title: {
    fontSize: 24,
    fontWeight: 'bold',
    color: '#333',
    textAlign: 'center',
  },
  adButton: {
    backgroundColor: '#4CAF50',
    paddingVertical: 15,
    paddingHorizontal: 30,
    borderRadius: 10,
    shadowColor: '#000',
    shadowOffset: { width: 0, height: 2 },
    shadowOpacity: 0.25,
    shadowRadius: 3.84,
    elevation: 5,
  },
  adButtonText: {
    fontSize: 18,
    color: '#fff',
    textAlign: 'center',
    fontWeight: 'bold',
  },
  loadingContainer: {
    flex: 1,
    justifyContent: 'center',
    alignItems: 'center',
    backgroundColor: '#f2f2f2',
  },
  loadingText: {
    fontSize: 18,
    color: '#999',
  },
});

export default App;
The following GIF shows how the advertisement will appear.
Integrating Google AdMob with a React Native CLI app is a straightforward process that can be accomplished with just a few steps. This setup allows you to monetize your mobile apps with targeted, in-app advertising.
If you have any questions, feel free to ask in the comments below or connect with me on LinkedIn.
Happy coding!
Reference Links
For more information, you can refer to the React Native Google Mobile Ads documentation.
In Plain English 🚀
Thank you for being a part of the In Plain English community! Before you go:
- Be sure to clap and follow the writer ️👏️️
- Follow us: X | LinkedIn | YouTube | Discord | Newsletter | Podcast
- Create a free AI-powered blog on Differ.
- More content at PlainEnglish.io